Post by Hillbilly Kustoms on Mar 23, 2007 17:46:14 GMT -7
I finally have time to get back together with Sky and retune up his car for April. Last month I dropped the car a couple days before shipping day and didn't have the time to fix it and still get everything else done. So, we're fixing it this month.
I am doing the bodywork part, Sky will do the paint part and then I'll do the clearing. This will be an ongoing post throughout the next few days as we finish it up.
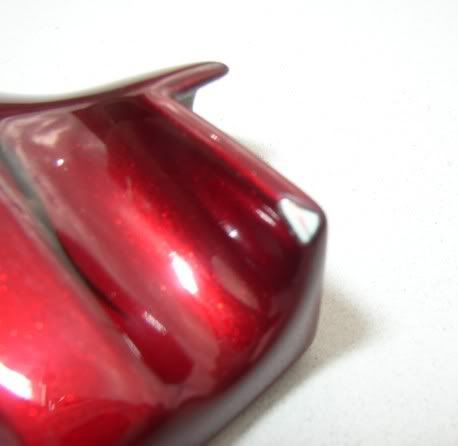
This one shows the damage of bouncing on our garage floor from about 3-4'.
Here I have sanded the chip keeping the repair area as small as possible. I used 220 grit to rough up the surface surounding the chip and also to smooth out the chip edge or "feather edging". This has to happen in order for the glaze I'll be using in the next step to stick it also smooths the chip back into the rest of the paint.

Here is the glaze. As you can see, it's a very small amount, and I actually used about 25% of what I mixed. The idea here is to mix it to a consistant color. I don't recommend using the catalyst that is white, it is really hard to tell when it's mixed enough. Blue and Red work great. Also, keep in mind that the more hardner (blue stuff) that you add the faster the glaze will cure. There probably is a suggested amount to use, I just go with how fast I want it to cure and the ambient temperature.

Here is the repair area with the glaze added. What you're going for is to build the low sanded area back up and higher than the surface of the rest of the car. This way it can be sanded back down and blended into the surface so it will hide where the damage was . . . or is . . . whatever

Stay tuned.
K
I am doing the bodywork part, Sky will do the paint part and then I'll do the clearing. This will be an ongoing post throughout the next few days as we finish it up.
This one shows the damage of bouncing on our garage floor from about 3-4'.

Here I have sanded the chip keeping the repair area as small as possible. I used 220 grit to rough up the surface surounding the chip and also to smooth out the chip edge or "feather edging". This has to happen in order for the glaze I'll be using in the next step to stick it also smooths the chip back into the rest of the paint.
Here is the glaze. As you can see, it's a very small amount, and I actually used about 25% of what I mixed. The idea here is to mix it to a consistant color. I don't recommend using the catalyst that is white, it is really hard to tell when it's mixed enough. Blue and Red work great. Also, keep in mind that the more hardner (blue stuff) that you add the faster the glaze will cure. There probably is a suggested amount to use, I just go with how fast I want it to cure and the ambient temperature.
Here is the repair area with the glaze added. What you're going for is to build the low sanded area back up and higher than the surface of the rest of the car. This way it can be sanded back down and blended into the surface so it will hide where the damage was . . . or is . . .
 whatever
Stay tuned.
K