Post by Wood Butcher Racing on Feb 4, 2010 14:45:00 GMT -7
Greetings everyone !
Been lurking for a short while and thought I'd jump right in.
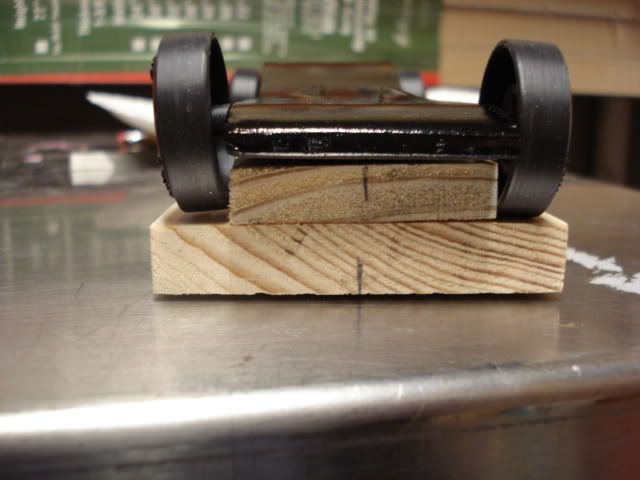
Like most of you I probably spend too much time thinking about these little buggars I am thinking of ways to maximize the energy and try to keep some thickness and shape. I also like to keep everything really neat. Here is one such idea I am putting together for our Awana race next week. The idea goes like this; rough out the body, split it open and hollow it out, then put it back together. I start with a block wider than normal. This one is about a 16th short of 2".

Drill the axle holes and then cut the profile. This car will be flat on the sides.

Don't throw away the scrap piece. It will come in handy later.
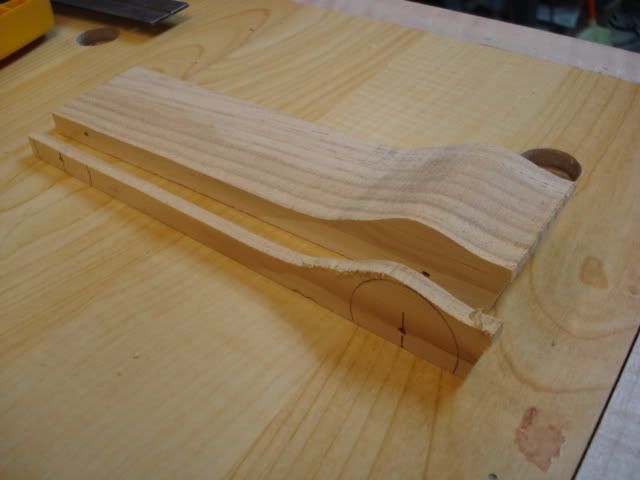
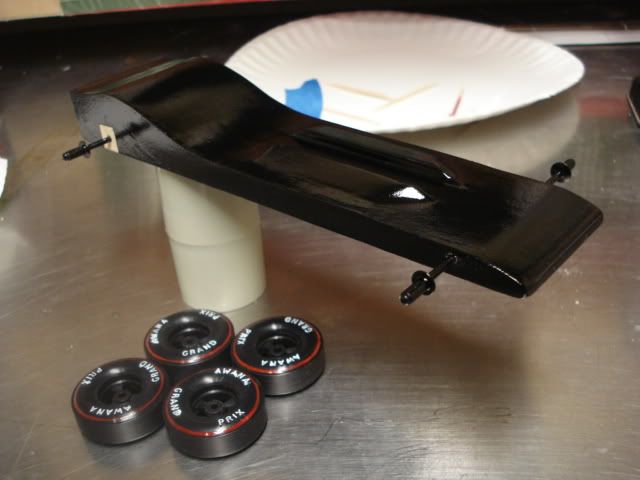
Now I run the body across the table saw to open it up. I leave the body 1/16 short of 1 3/4". Then it's back to the drill press to lighten the body.

The holes drilled into the body could be done in any sort of way you choose and to accomodate the weight you'll put inside. Using the cut off scrap, I can now clamp it in my vise and clean up the holes with a sharp chisel. Coincidentally, I use the same sandpapers to sharpen both my axles and chisels.
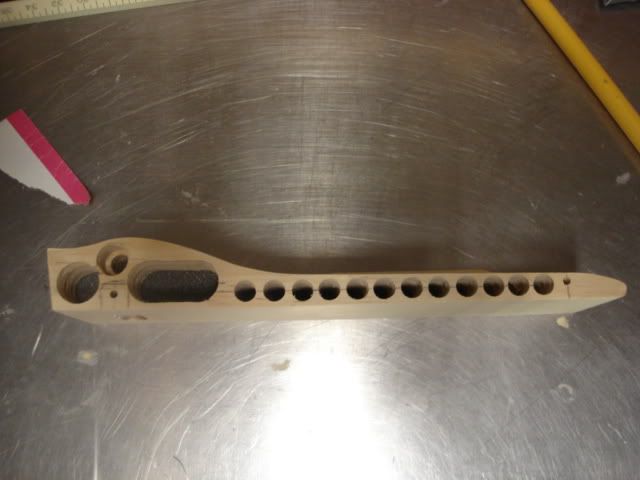
All you hawk-eyes out there will surely notice that this is attempt 2 for drilling out the body. The first one I got a little too close on the windsheild and it blew out. Then the holes in the front were kinda all over the place, and I was going to clean out all the webbing in between but it seemed a little too thin. This one turned out better. If you look a little closer you will see what I am using for ballast - tungsten powder. I was reading something about reducing vibration in the car and they used foam under the weight to isolate it from the car. Seemed to make sense so I got some of the powder. I wasn't sure how big a cavity I was going to need so I went with 3 1/2" holes with 2 of them joining in front of the axle.
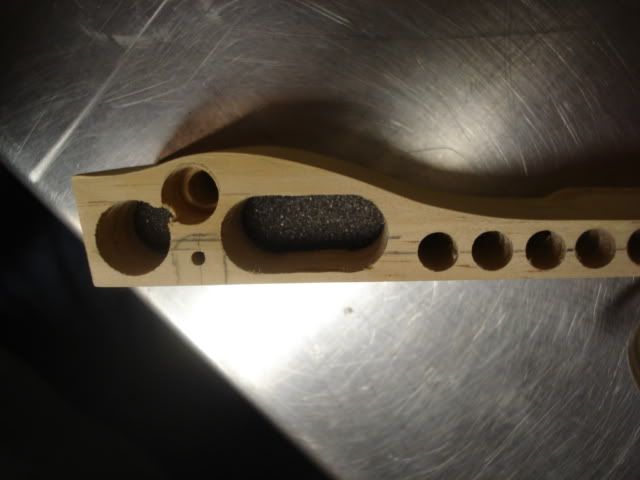
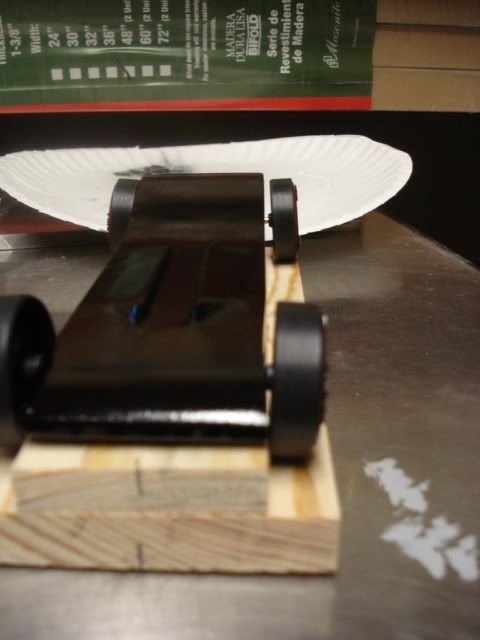
Turns out to be overkill. I only needed about half the space. I put 1 oz in the single one, and then a little more than 2oz in the main one. Laid out this way the COM is 1" . Time to glue it up. More to come later ...
Been lurking for a short while and thought I'd jump right in.
Like most of you I probably spend too much time thinking about these little buggars
 I am thinking of ways to maximize the energy and try to keep some thickness and shape. I also like to keep everything really neat. Here is one such idea I am putting together for our Awana race next week. The idea goes like this; rough out the body, split it open and hollow it out, then put it back together. I start with a block wider than normal. This one is about a 16th short of 2".
Drill the axle holes and then cut the profile. This car will be flat on the sides.
Don't throw away the scrap piece. It will come in handy later.
Now I run the body across the table saw to open it up. I leave the body 1/16 short of 1 3/4". Then it's back to the drill press to lighten the body.
The holes drilled into the body could be done in any sort of way you choose and to accomodate the weight you'll put inside. Using the cut off scrap, I can now clamp it in my vise and clean up the holes with a sharp chisel. Coincidentally, I use the same sandpapers to sharpen both my axles and chisels.
All you hawk-eyes out there will surely notice that this is attempt 2 for drilling out the body. The first one I got a little too close on the windsheild and it blew out. Then the holes in the front were kinda all over the place, and I was going to clean out all the webbing in between but it seemed a little too thin. This one turned out better. If you look a little closer you will see what I am using for ballast - tungsten powder. I was reading something about reducing vibration in the car and they used foam under the weight to isolate it from the car. Seemed to make sense so I got some of the powder. I wasn't sure how big a cavity I was going to need so I went with 3 1/2" holes with 2 of them joining in front of the axle.
Turns out to be overkill. I only needed about half the space. I put 1 oz in the single one, and then a little more than 2oz in the main one. Laid out this way the COM is 1" . Time to glue it up. More to come later ...